I thought I'd share with everyone a fun way to customise their iPhone cases. This tutorial will show you the tips and tricks I learnt making this case - I hope it inspires you to similar creations!
__________________________________________________

What you'll need:
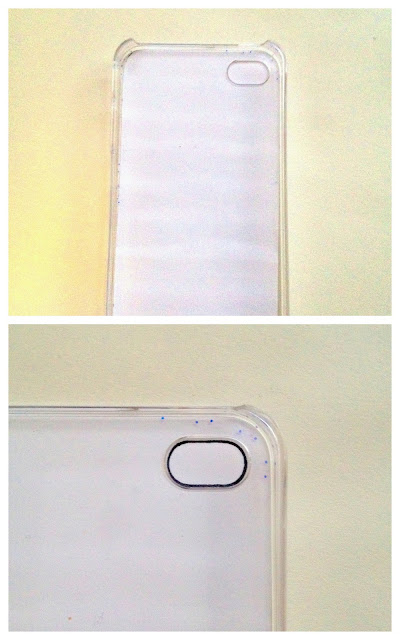
You'll need a clear iPhone cover case. They're on Ebay for about a dollar a piece so I bought 5 to play around with.
You'll also need some glue, scrap-booking paper, stickers (anything that takes your fancy really)

Firstly, you'll need to make a template. To do this I placed the phone case on a piece of card and traced around it then cut it out. Because you're tracing around the edge of the case, and the inside is a little smaller, you'll need to cut about two millimetres off around the edge and keep cutting off little bits until it sits in nice and snug. At this point I would suggest making a bunch of templates off this so that you can stick your creations right onto your template.

Next I've grabbed about four different types of scrap-booking card and just cut them in to strips. As you can see I've used one piece of card that has a pattern on it, so I've cut around the pattern. This really adds variety so if you don't have card like this, I recommend drawing your own shape on and cutting it out.

Then I've taken my template and smothered it in glue. Then starting from the bottom I placed my strips of card up the template, placing them strategically so I get the bits I want on the final product. When you flip it over it will look like the last panel above, so just cut around your template to get all the excess card off.
Then, to cut the little hole out for the camera, I've placed the case on top of my design and drawn around the hole.
The easiest way, I've found it to get a sharp craft-knife and make two slits, creating a cross and then running the knife around the edge. It is possible with scissors too (but takes a bit of practice)
Then pop the finished design inside the case, and put your phone in as usual. The cool thing about this is that your phone holds your design in so you can use the case to have as many looks as you like. If you get as addicted to making these as me then you'll have one for everyday of the week before you know it.
Here are some other creations, that are pretty self-explanatory but I thought I'd pop them in to inspire you
Extra tips:
You can also add beads/studs etc to the outside of the case. And make sure that your design isn't too thick or the phone won't fit in properly
You can also add beads/studs etc to the outside of the case. And make sure that your design isn't too thick or the phone won't fit in properly
__________________________________________________
Let me know your favourite and any other ideas you might have!
Let me know your favourite and any other ideas you might have!


Beautiful! I love the Alice in Wonderland - such a great idea!
ReplyDeleteThanks for the inspiration :) I had heaps of fun making different designs
ReplyDelete